TIPS | Lightning Photography in Darwin
I have lost count the amount of people that have asked me "how do you take photos of lightning?".... It is a hard question to answer! I think most expect a quick one or two sentence answer.... but it's not that easy (as anyone who has tried, will know).
Sure there is "luck"… Right place, right time.
Sometimes it just so happens that you have a camera with you when out and about, a storm hits, and you get that "lightning shot" - you've got that one shot, and people think it's easy to get lightning bolts in photos. The challenge is getting another one..... and another one, and then getting bigger, better, sprawlier, prettier bolts!
My personal challenge is trying to line up spectacular lightning, with spectacular light and a spectacular landscape… which is definitely harder than simply snagging a lightning bolt on camera!
That's my first warning - lightning photography (or the want of trying!) is addictive.
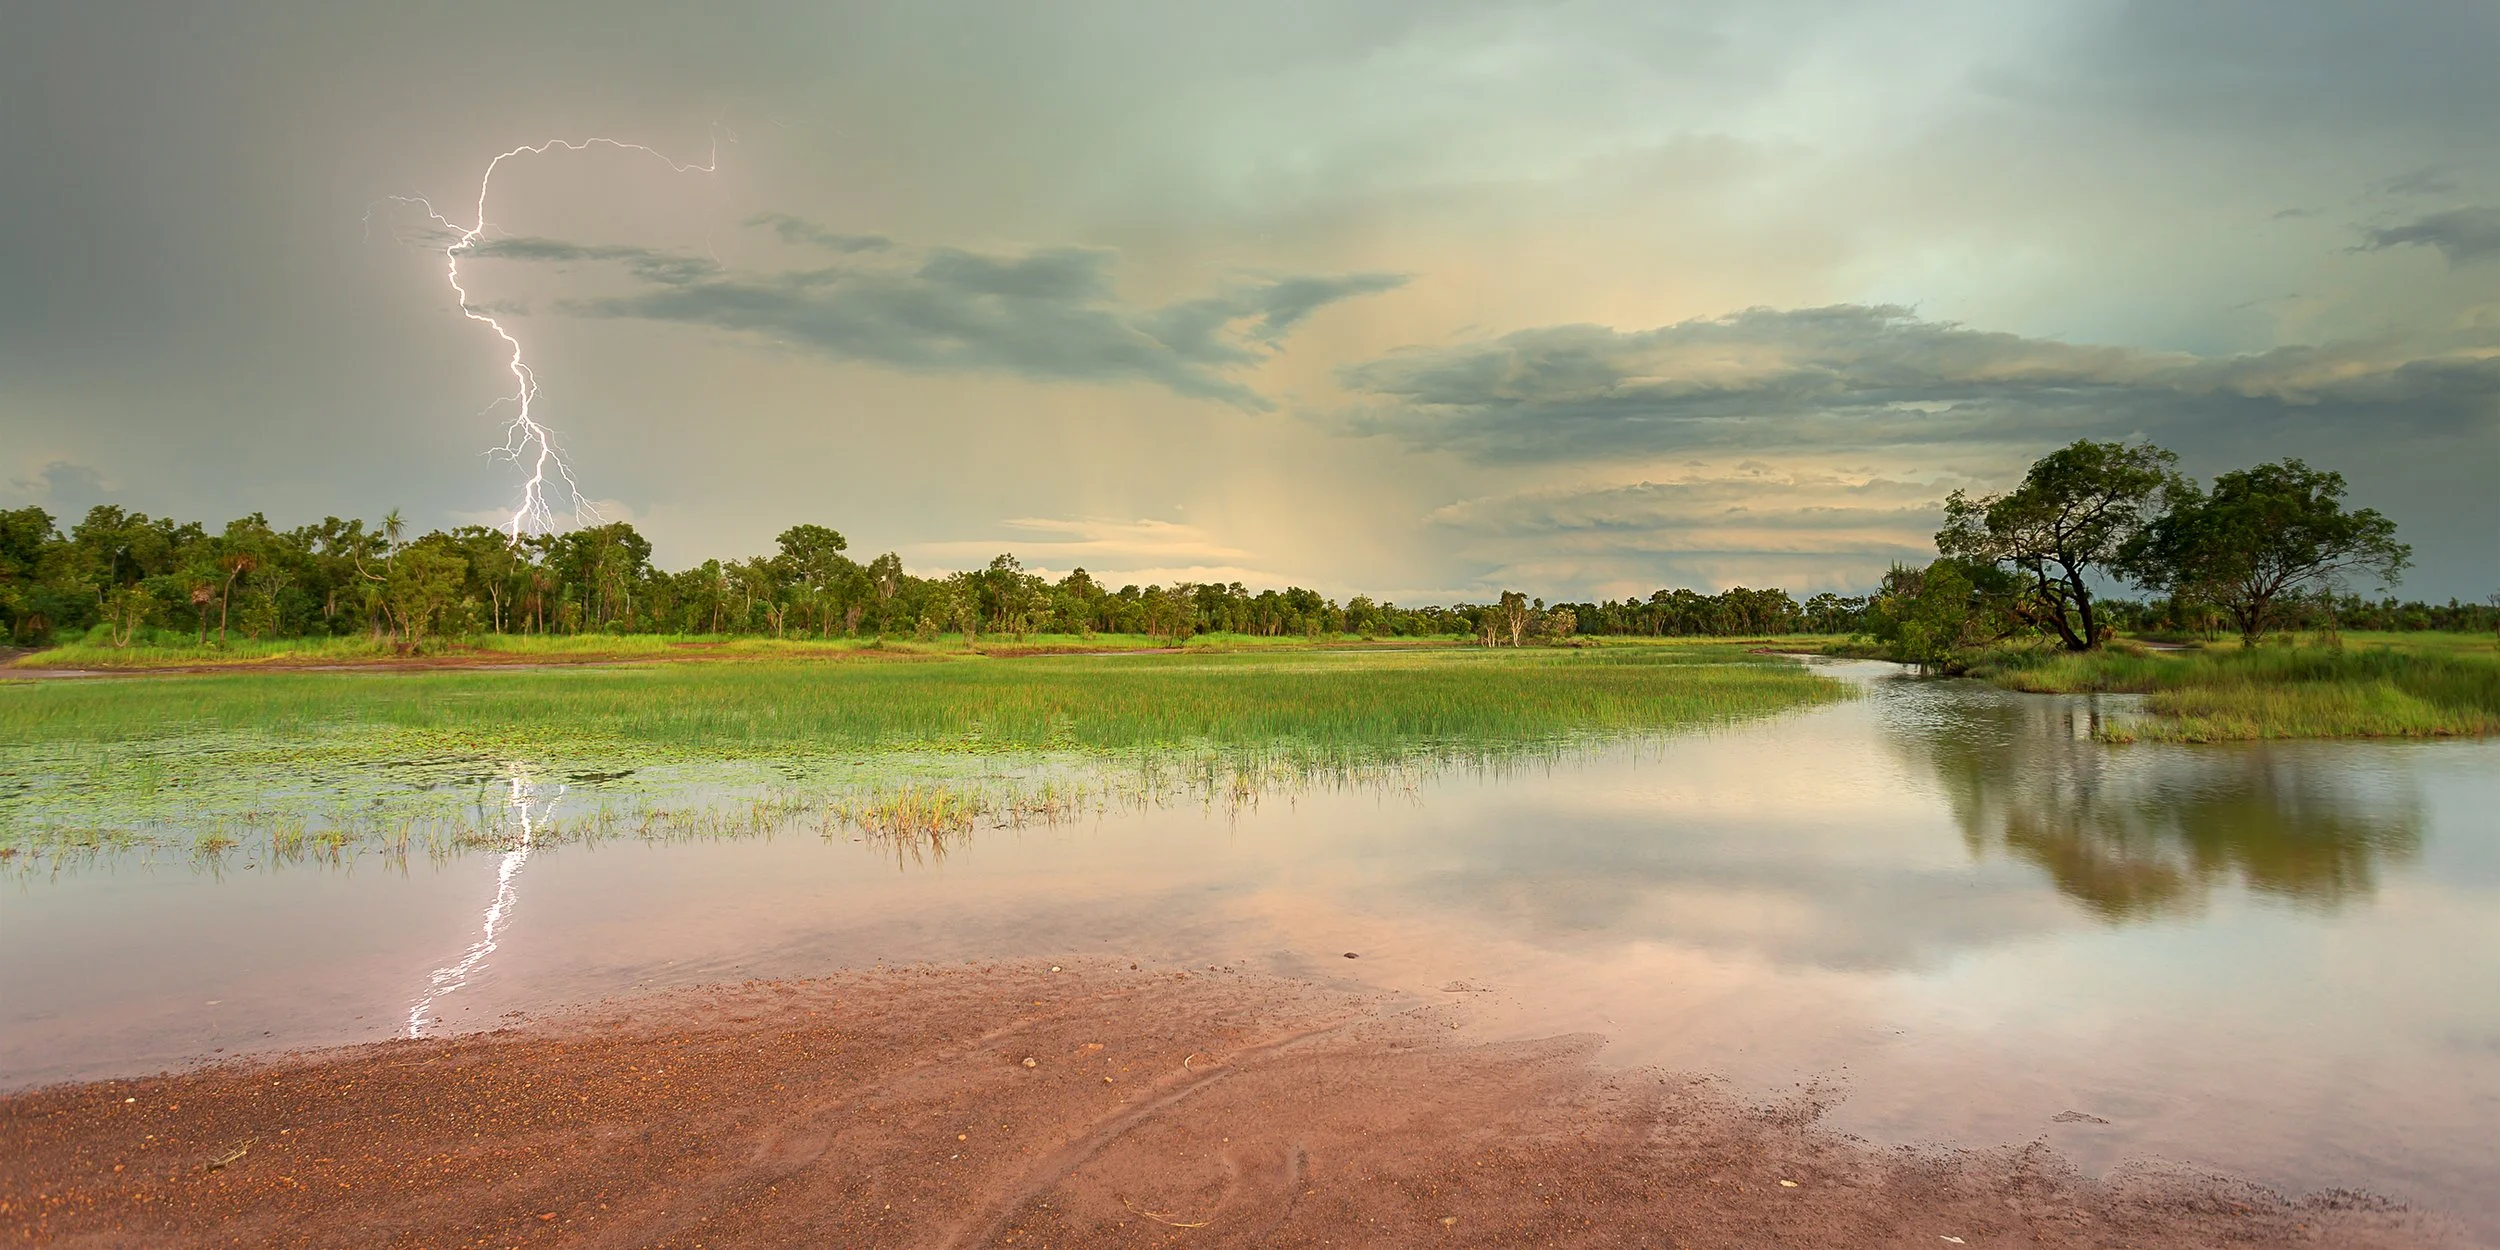
The below photo was my first substantial lightning bolt - taken at 5am at the end of October 2012. I rocked up, took one photo before the downpour began - the below image was that one photo!
My second warning is the obvious. Lightning is dangerous.
I don't know much about storms, their physics, their make up and how they react to certain triggers. My main advice, and I really cannot stress this enough, is to never get to close to the storm. A general rule is to time the number of seconds between seeing the bolt and hearing the thunder. If there is less than 30 seconds between seeing the lightning and hearing the thunder, you could be in a dangerous position. If the thunder is really loud, boomy and obviously sounds close - it is time to get out of there!
I have taken shots through the car windscreen when I fear I am too close. When I am looking for storms, I am never more than a few metres from the car - it's the safest defence you have if things turn turbulent. Other shelters, balconies, etc will protect you as well.
In Darwin, we are very lucky. Some say we are the lightning capital of Australia - we have an average of 90 thunder-days a year. So far this season, we have already been subject to 120mm of rain in the Darwin city area - quite unusual for this early in the season. Later on in to the "real" wet season (January time, ish), we can get 600mm in a month - that's more than some temperate climates get all year!
So, if you are in Darwin or the Top End of Australia and want to give lightning photography a go - you are in the right place!
What do you need to photograph lightning?
A DSLR. Sure, you can take photos of lightning with a point and shoot (using the "luck" technique I explained above), but a DSLR will open up a lot more opportunities - to ensure when you do find lightning, you can translate it in to a photo.
A remote shutter. Again not essential, but with the DSLR you will be able to use "bulb" mode and long exposures - a remote is really useful for this.
A lightning trigger (more on this later).
A tripod - a sturdy one
A torch
Mozzie repellant!
Spare batteries - for the trigger and the camera, if you have them.
What lens is best for photographing lightning?
There is no "best" lens for lightning. However, you generally want to keep a fair distance away from the storm and in that instance a super-wide angle prime lens is not ideal. You generally want to use a zoom lens.
My two lenses I usually use for lightning are the 17-40mm F4 L (although I almost always use it to around 40mm) and the 70-200mm F2.8L (both Canon).
If you are a beginner, there is nothing wrong with kit lenses - if you are more advanced you will like to use pro lenses. The lens depends on your ability, but the ideal range I would recommend is between 50mm and 200mm. Just to keep you a distance away from the storm.
Other gear for lightning photography
A lightning trigger? What's a lightning trigger?
It is a very clever invention - it plugs in to the remote control socket on your DSLR and mounts in the hot shoe mount on the top. The sensor in it reacts to the lightning and sets off your camera shutter within a split second.
There are a number of brands available. I currently use an AEO trigger, but to be honest it is not one I would recommend. It is too sensitive to any flash and sets off my camera shutter in to a frenzy (and then it times out as it gets tired, that's when the big bolts typically always happen!).
Nero and Lightningtrigger.com are a couple of others I have heard good things about. These have the ability to change the sensitivity to of the sensor to the lightning (unlike the AEO), and can be adjusted to ensure it only activates for the stuff you want.
The AEO has worked for me for a couple of years, it does do the job, and it is the cheaper out of those three brands... but it is too sensitive to the point that it is really annoying with my camera shutter firing at nothing!
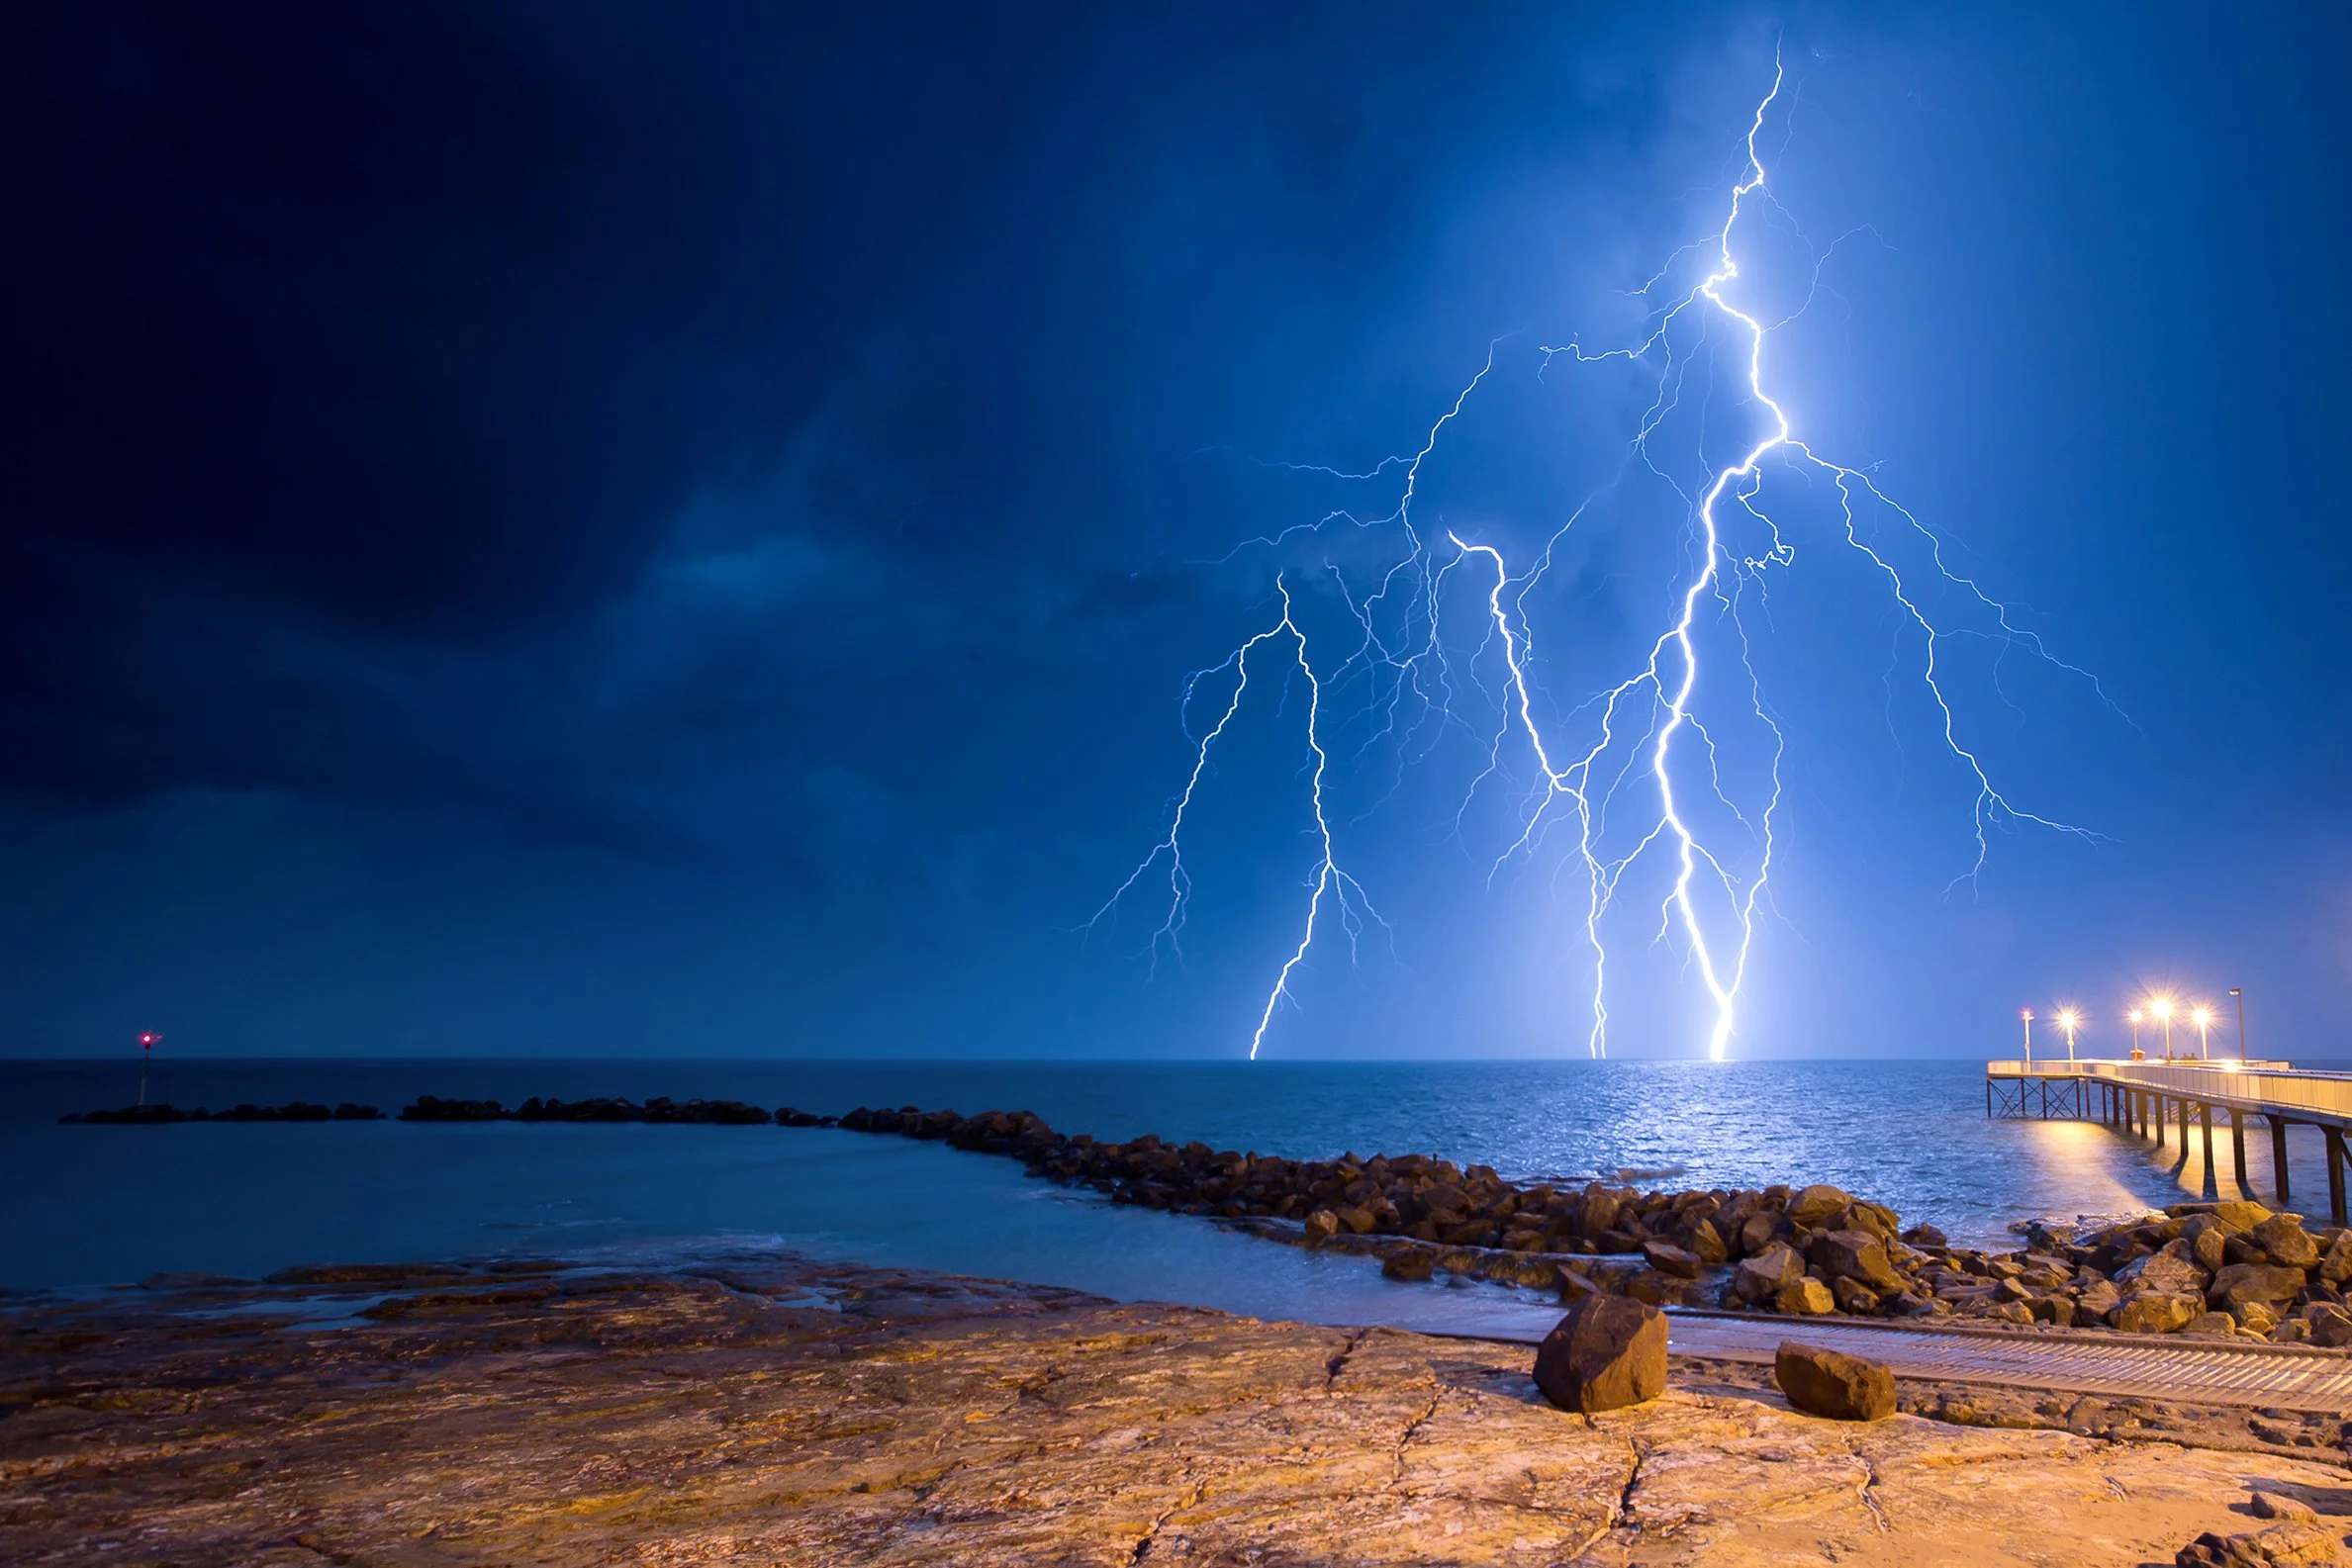
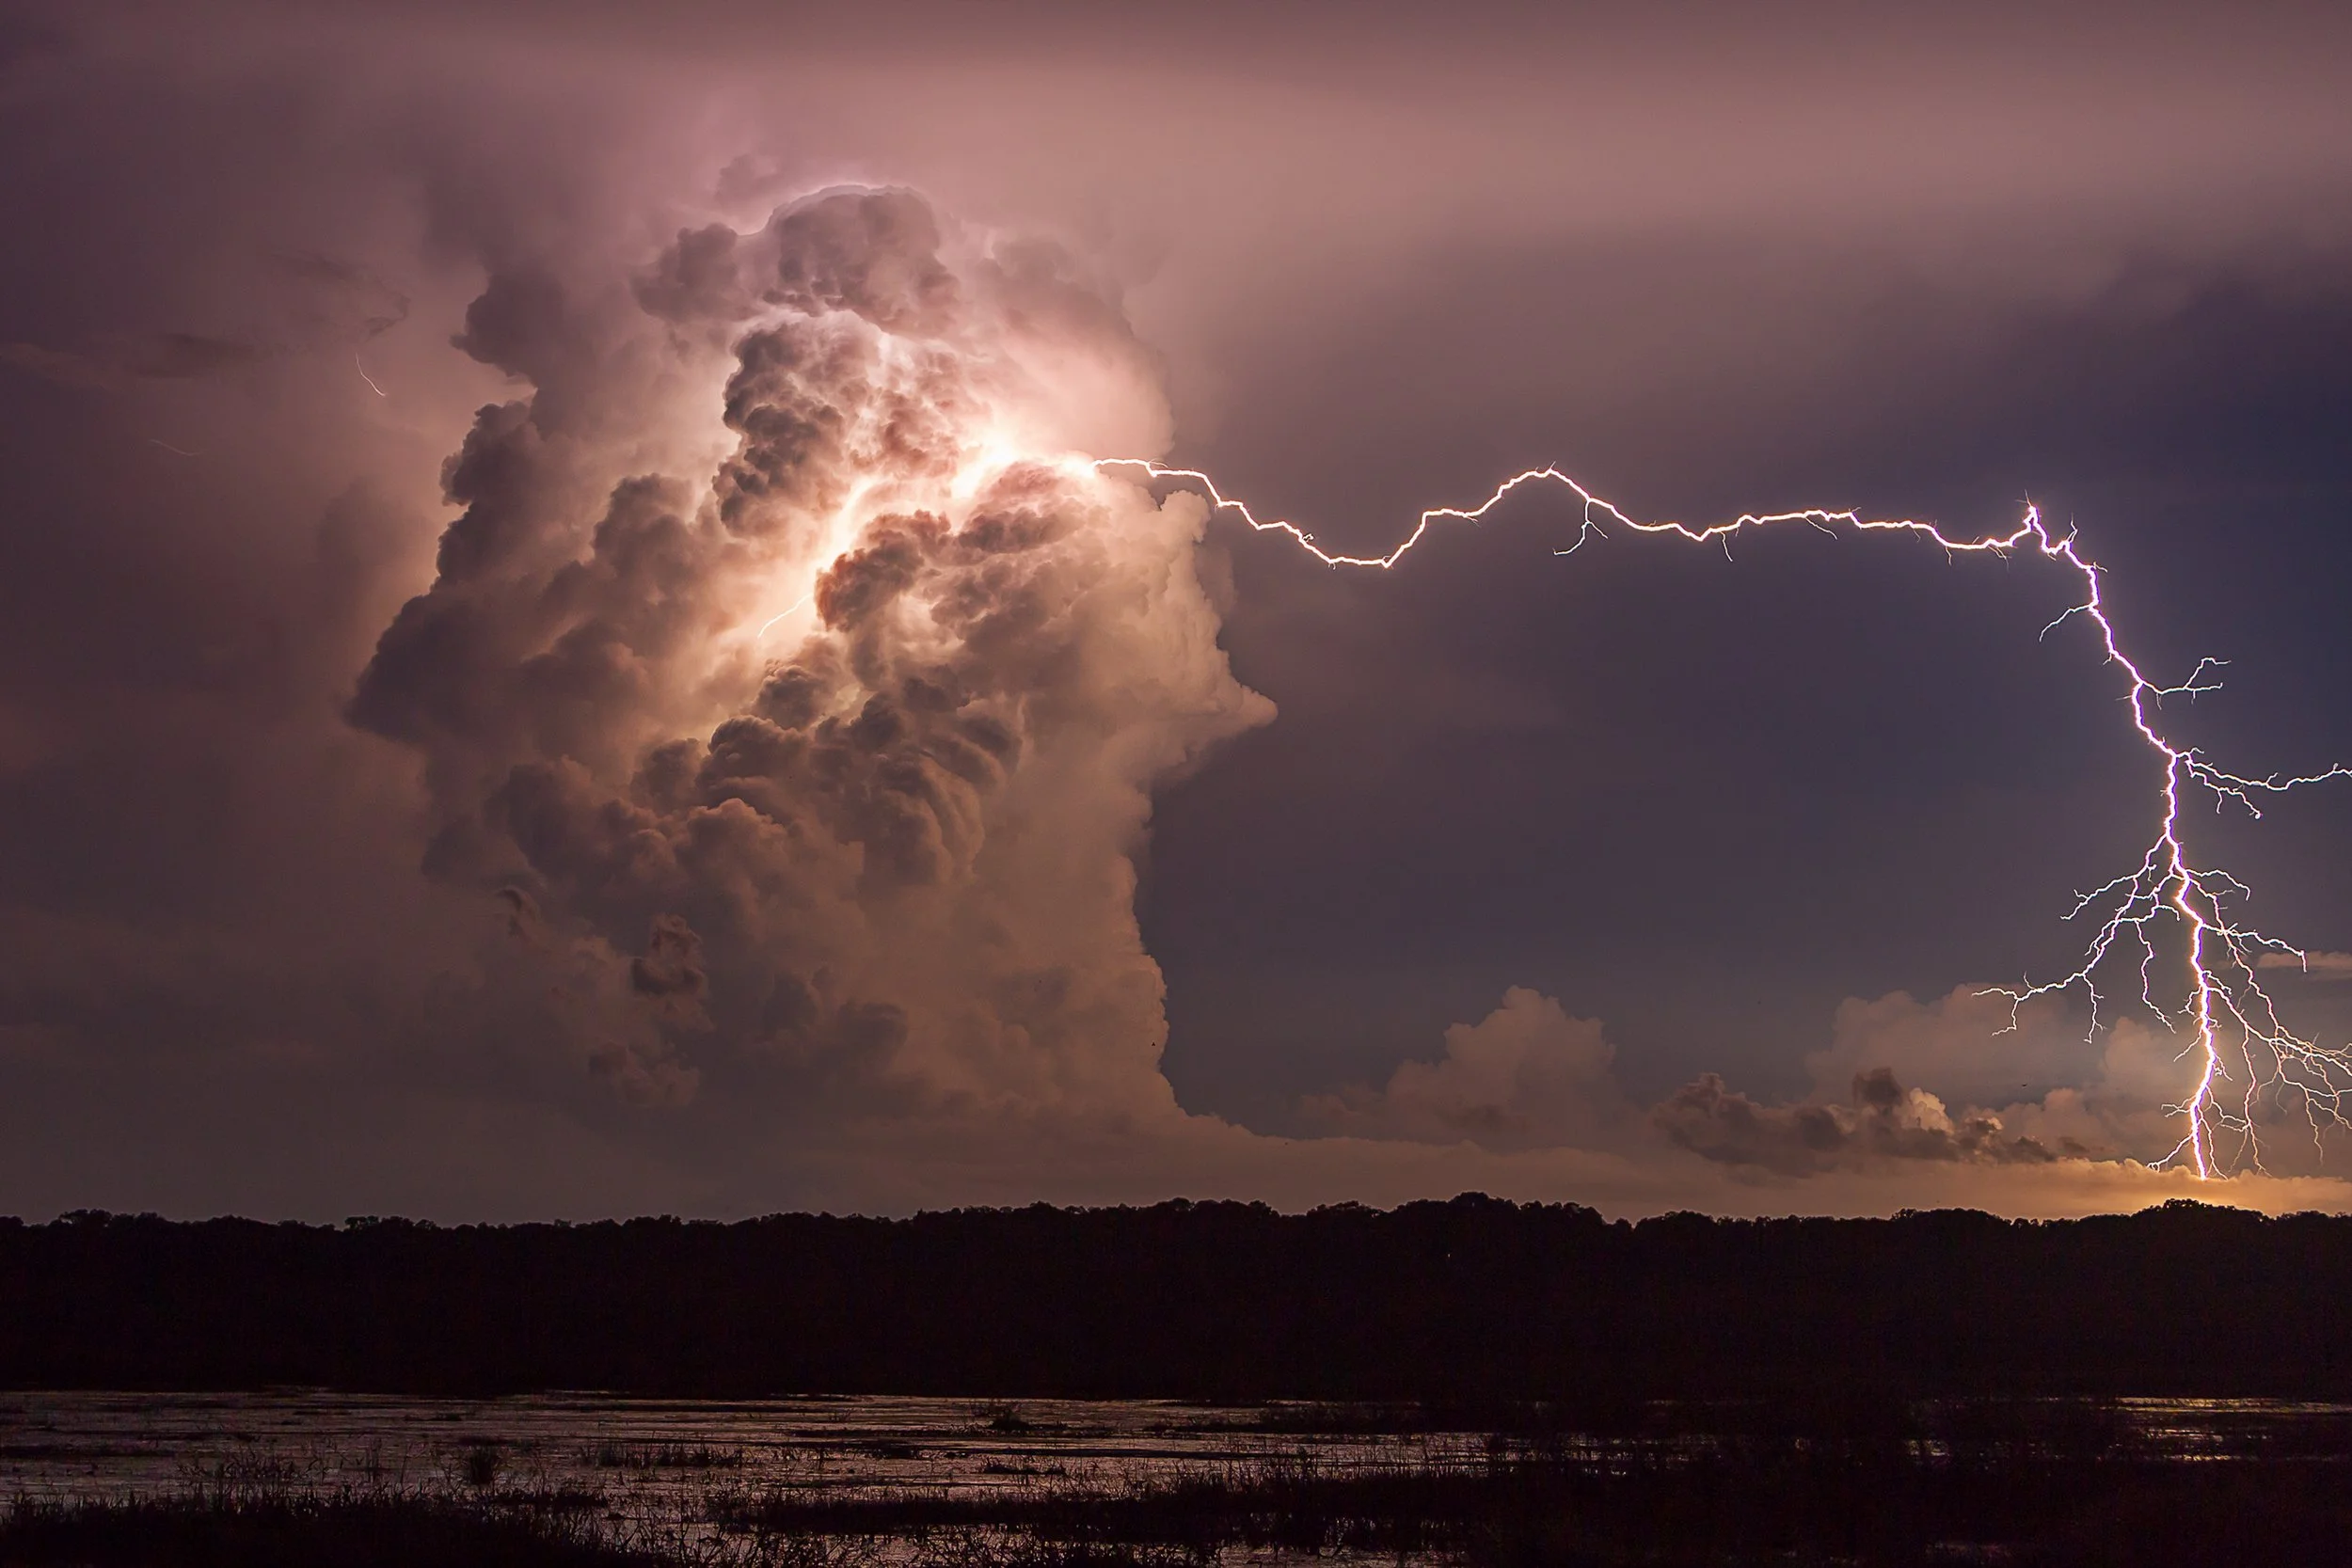
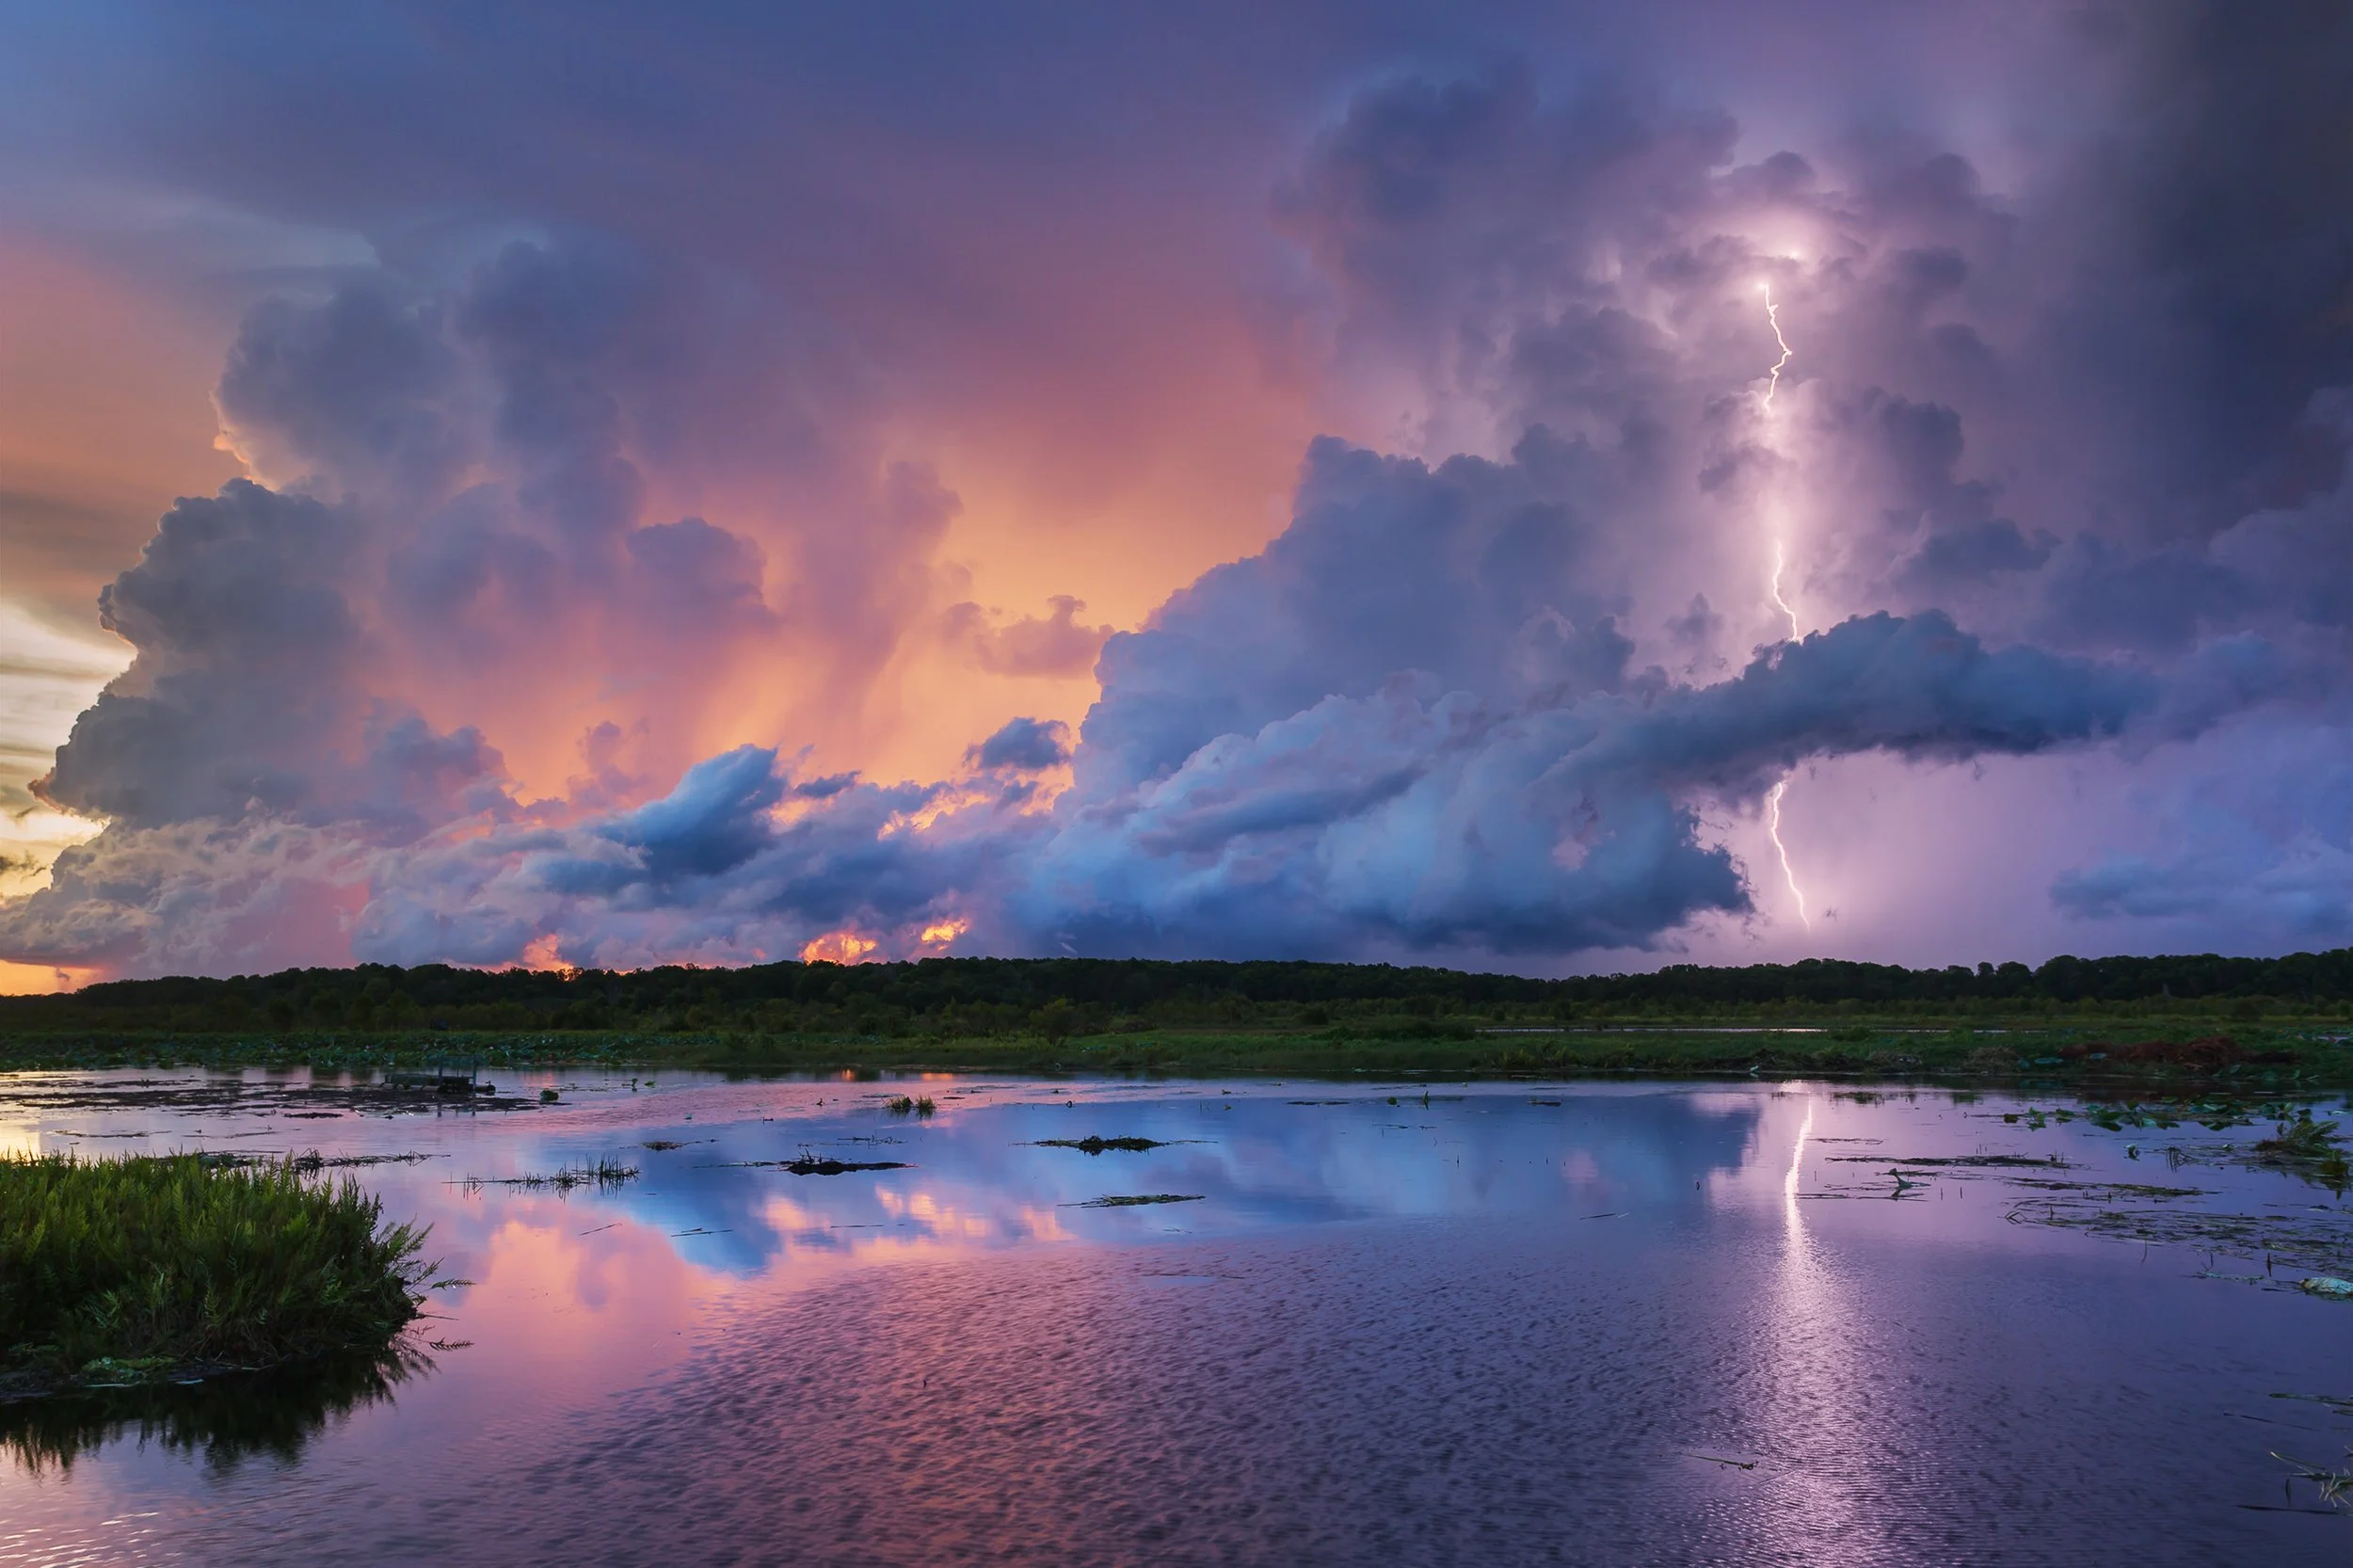
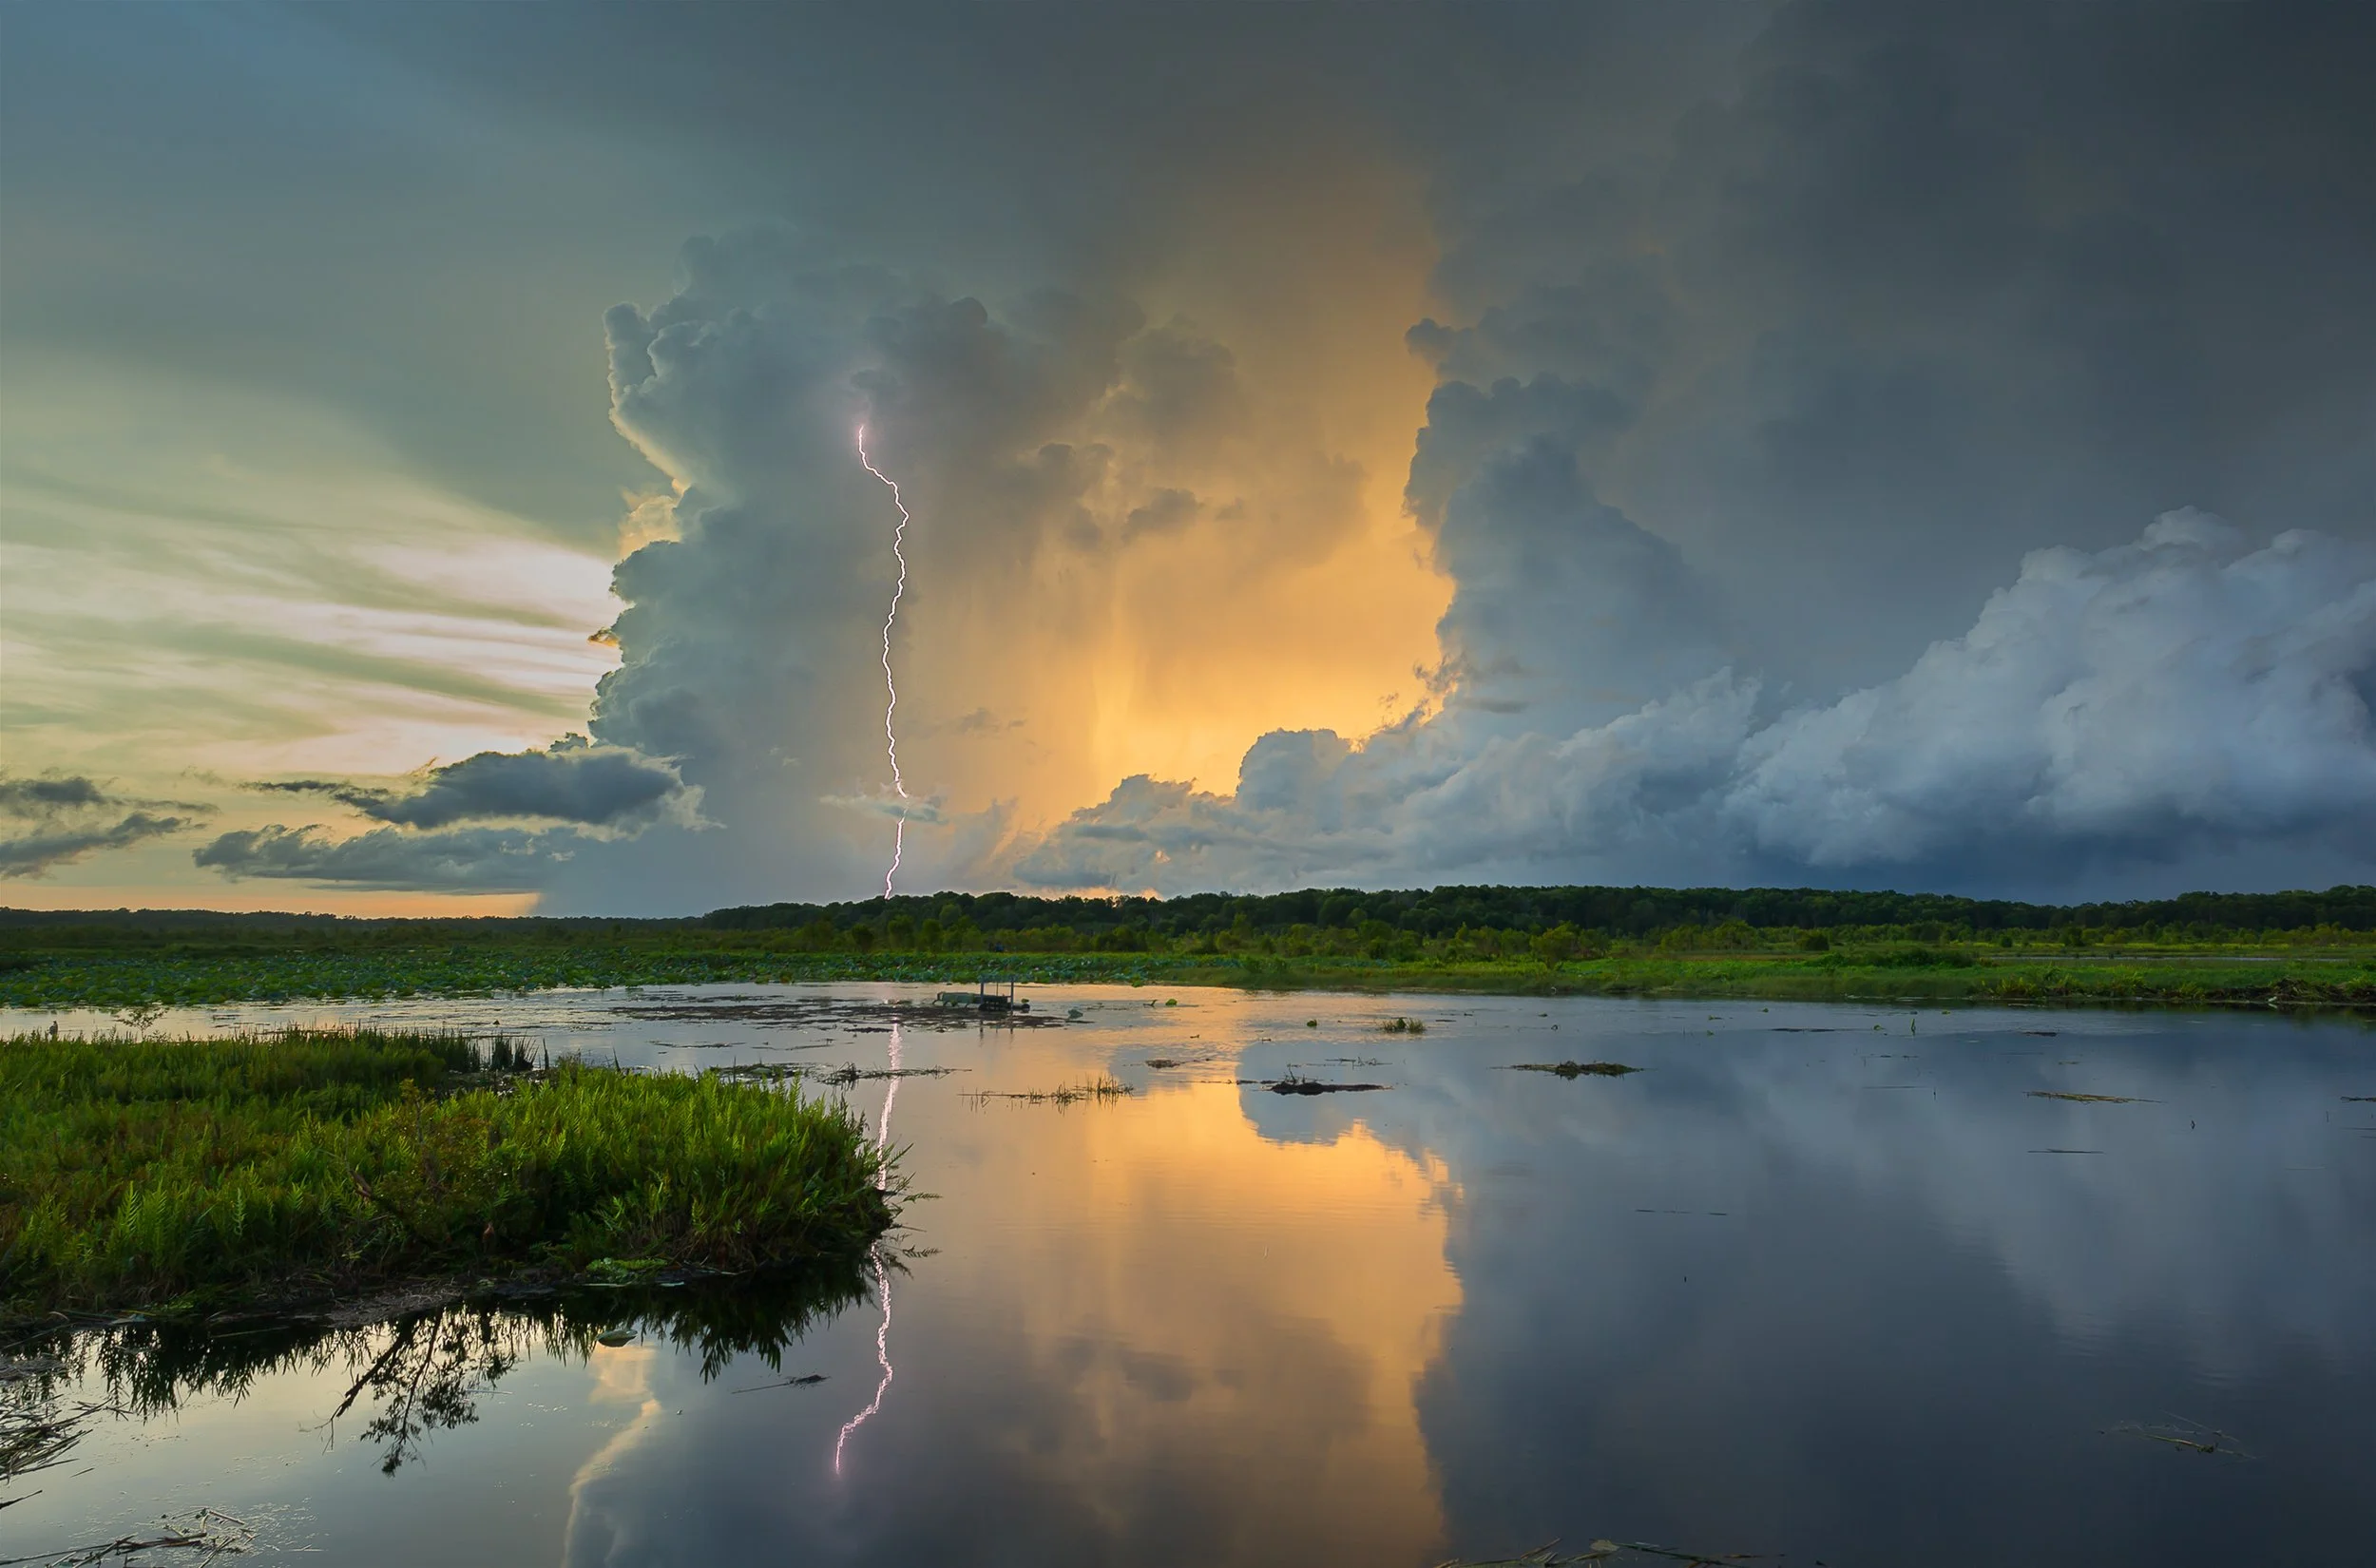
A couple of shots taken with a lightning trigger:
Remote shutter release
A remote shutter is very useful for night lightning. For your long exposures (20 - 30 seconds), using a remote will stop you wobbling the camera on a tripod, so your photos are sharp. Pressing the camera shutter for long exposures can cause you to wobble the camera.
One thing to bear in mind is that most cameras take as long to process the photo as they do to take them. So, for example if you are taking a 30 second exposure, it usually takes around 30 seconds for the camera to process that shot, until you can take the next photo. Sometimes you have to use long exposures wisely - think about when you need that next lightning bolt could be.
Usually at night you don't need to use a lightning trigger as you can use long exposures. Set up your camera for 20 or 30 second exposures in the right area for the lightning, press the shutter with your remote and hope for a bolt of lightning in that time frame.
Depending on how far away or how close the storm is, and how active it is, you can make "calculated" guesses on when or where the next bolt will strike. This will involve monitoring the storm for a while. Figure out which direction it is travelling, where in the storm are the bolts happening? If there is only one bolt of lightning every 2-3 minutes, you don't want to keep pressing the shutter button, but count out the seconds until you next estimate the shutter needs to be pressed. This doesn't always work, but a little bit of patience will mean you capture that next bolt - rather than having your camera "timed out" whilst it processes the previous five long exposures you took with no bolts in them.
If the storm is quite distant, and the bolts are few and far between, you can use "bulb mode" to get exposures that are much longer (1 minute, 2 minutes, if you like). This will increase the chances of getting a bolt in the shot. Beware that this really won't work for bigger, closer bolts as your photographs will be blown out too bright from the lightning.
A tripod
A tripod is useful during the day as well as night. You can keep the camera (and trigger) mounted and pointing at your area of interest and wait for the lightning to be captured. Standing out in a storm with your eye to the camera and finger poised patiently on the shutter is not the way to do it.... Unless you have an iron hand and the steadiest arm in the world you won't catch a bolt that way!
The tripod also means that you can leave the camera outside if you need to protect yourself in the car.
I've also set my tripod up in the car before too!
Some pointers on the settings....
Every storm is different, so I cannot tell you what settings to use - practice, trial and error will help you!
However, I can give some pointers....
ISO 50, 100 or 200.
Keep it as low as possible to reduce noise. At night, long exposures cause a lot of grain (noise), so I tend to never go over 200. Depending on how bright the bolts are will depend on your ISO setting. If the bolts are too bright and blowing out too white in your photos, lower your ISO. If the bolts are not standing out bright enough, put your ISO up to 200.
Lower your F-number (larger aperture)
Generally we need to let as much light in at night as we can. I usually don't go higher than f8 when shooting lightning at night (or in the day). Usually I will go around f6.3 or f7.1 but you can also go lower. I tend to steer clear of wide open (the lowest f number you have), because I want to keep a little DOF and the quality is generally better in the middle of the aperture range.
Basically, pick aperture priority mode (either A or Av on your camera dial) and pick a number between f5.6 and f8. If your photos are coming out too dark and your bolts aren't bright enough lower the number.
Shutter speed will be chosen for you by your camera if you are in Aperture Priority, which is fine during the day.
Generally at night, the longer the shutter speed the better - this will increase your chances of getting a bolt. You will probably need to flick to manual mode. Set your aperture to between f5.6 and f8, and shutter speed to around 20 or 30 seconds. Your settings will determine on the brightness of the bolts and you might need to practice a little to get the exposure how you want it.
If you’re photographing in the pitch black (often the easiest way to capture lightning shots), try manually focusing
At night, I personally use the LCD screen and zoom in - if you have a point to focus on. Lights are good for this as when they are perfect circles, not fuzzy, you can tell you are focused. Trees, buildings, all work well to focus.
If you do not have a focal point and all you have is sky, you can "focus on infinity" - your lens zoom ring should have markers on it and you will need to turn it to the infinity marker ( ∞ ) . This will be the focus ring turned almost to the end, but back a little. Either way, you have to manually focus - auto-focus will be searching in the dark with nothing to point to.
In the day time I still manually focus. I usually set up the tripod and camera, auto focus and then flip to manual focus. That way if the trigger fires off to a flash it won't get confused - it's focused where I want it.
During the day, you will be needed a shutter speed a little faster so that the bolt does not become invisible. Somewhere between 1/25th and 1/100th.
Composition is still important - something in your foreground - a tree, building, hills... can help add a sense of scale.
So, now you've got your equipment organised, you have an idea on settings... when and where are the storms!?
As I already mentioned, Darwin is a very lightning prone area. That doesn't mean taking shots of lightning is easy, but it gives us lots of opportunity to practice!
I am not a meteorologist, nor do I know how to follow weather. But, I can give you some basic tips on how I look for storms.
Generally the "build up" period is the best time for lightning activity.
Storms are very isolated and are easier to get around. I.e you can position yourself off to the side of the storm and watch it pass without getting wet. Later in the wet season there is more wide-spread rain, not so much the isolated, active cells we get in the "build up". October - December is usually best for lightning activity around Darwin. This year, we have had an extremely active October.
Generally the storms develop in the afternoon, and often develop inland.
There are certain "hotspots" for storm activity - some examples being Dundee, Batchelor, Adelaide River, Berry Springs, Noonamah.
There are certain "paths" the storms tend to follow.
For example, cells that develop along the Arnhem Highway (around the South Alligator River) travel west along the entire highway - a lot don't make it to the city.
Some cells develop around the Adelaide River township travel WNW toward Dundee area.
Storms that develop around Koolpinyah (off Gunn Point Road) travel WSW to give the suburbs and city a soaking.
Be prepared
Do your research - find the good locations, pinpoint them on a map or an iPhone app. That way when the storms hit, you know exactly where to rush to and set up.
Research!
Now for my biggest tip - and this might seem obvious, but it really is the thing that will most increase your chances of lightning photos!!
GET UP OFF THE COUCH!
A lot of time, commitment, driving, looking for locations, tracking storms, watching storms and that will power to go out at all hours of the day.... is what will help you get lightning photos.
A lot of storms happen in the middle of the night, when you want to be tucked up in bed!
I am constantly watching the radar for hints of activity and the second I spot something, I'm off! Not everyone has that ability of course, but when there is time you have to grab it. I've abandoned dinner engagements and sleep and all other sorts of things to go looking for lightning.....
Trial and error, and practice makes perfect! (that's where the addiction comes in!)

