TIPS | Composition for landscape photography
The biggest mistakes made by beginners starting out in landscape photography, are in composition. In my opinion, it is one of the most important things to get right "in camera". Composition (aside from a little cropping) cannot be fixed in post processing. Nothing you do on the computer is going to change how you arranged the scene in the viewfinder.
Tweaks can be made, of course - e.g. cloning out intrusive branches or straightening the horizon but generally, composition must be right at the time of the shot.
The most common mistakes I see beginners making are:
- Pointing the camera straight at the harsh sun
- Seeing a gorgeous sweeping landscape and taking a "snapshot" photo (I'll elaborate more shortly!)
- Horizon position
A little more on point number 2:
Our environment can be stunning. Sometimes you can be walking along a nature trail, or hiking up a hill, and you take a second to stop and take in the view. And take a photo. Now, the scene can be gorgeous - the best ever - but the photo still needs a subject. A photograph needs to have a focus point. Something for the viewer to focus on (who is not there taking the photo and probably never will be). Care needs to be taken to arrange that scene in the best way in your viewfinder.
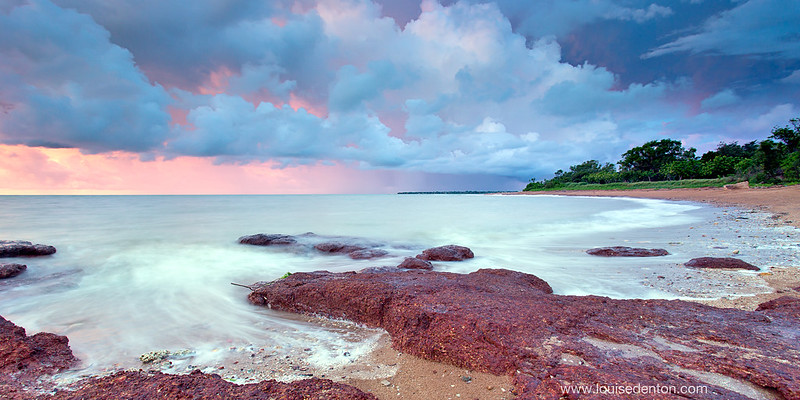
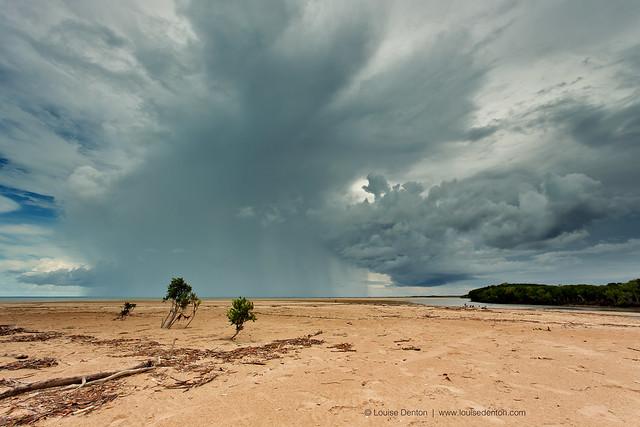
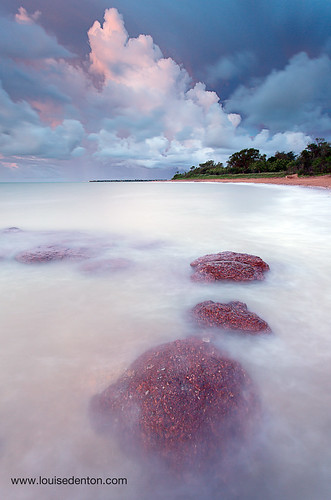
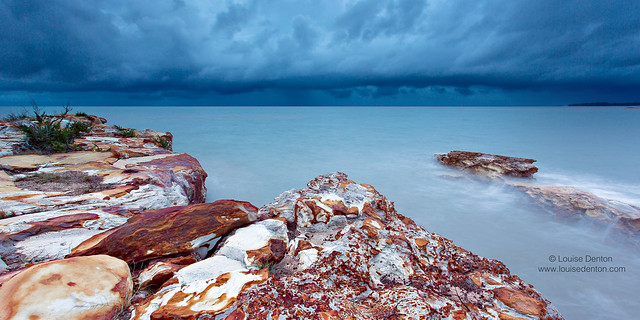
The below photo shows one of the beaches at East Point. Although I wanted to show the beach and mainly that awesome sky, I still needed something in the foreground to anchor the scene. Here, I've used the water moving around the rocks to act as something to lead the viewer in to the sky and beach: Most people who look at your photos, aside from family and friends, will have never been to your chosen location. We have no idea how high the hill was, how panoramic the view was, how tall that waterfall was..... We cannot appreciate how beautiful and sweeping the landscape was. We weren't there, so the photograph has to show us.
Now, climbing a hill and taking a quick photo of the scene you were greeted with is great - I am not saying don't do it. These shots serve as a perfect reminder for you and whoever you are with at the time. These photographs are memories, they provoke emotion and they serve an important purpose in recording your life!
However, from a photographic point of view - showcasing the beauty to outsiders - more care is required to create an image to captivate the viewer.
This is where composition comes in. How can you engage the viewer?
There are a few techniques in composing great photographs, and they are explained in the following points. You do not have to encompass all points and ideas in to one photograph, but they are merely a guide for things to look for, when arranging that scene in the viewfinder.
First of all - move around your scene!
Most "point and shoot" photographers will take the photo as described above - meet the scene, take the first shot you see, from a standing point. Now, because this is the shot everyone takes and everyone sees "normally" it becomes mundane, same same, nothing original and therefore a less interesting photo. Remember I said there was nothing wrong with these kinds of photos! They are memories.

For an outsider, they view these shots as unimaginative and the same as what has been done before. As a photographer, move around the scene. Get in to a higher vantage point, or get down low.
Move around to one side to shoot back to where the majority of people stand to take their photo. Frame your scene with the rolling hills or the trees on the bank.... Or, take your shot at a time of day people often don't see it - try night, or dawn. Basically - think outside the square. Be imaginative!
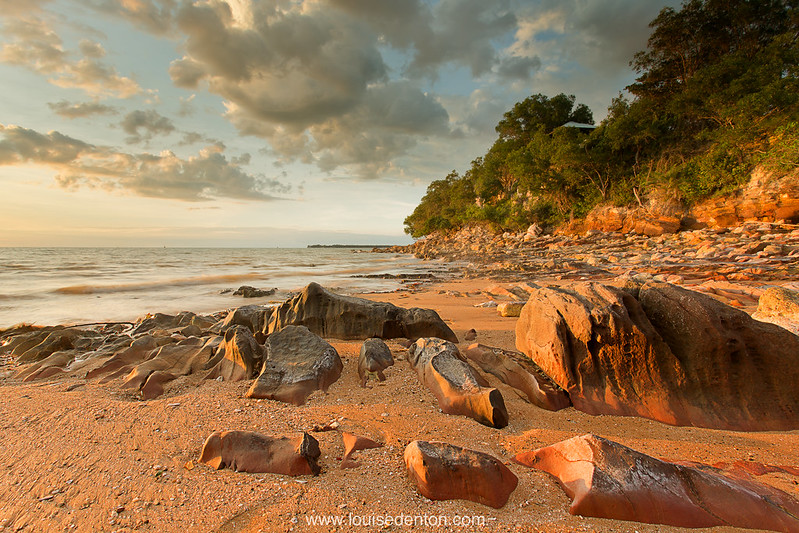
The above photo of Mindil Beach was shot from a low point of view, pointing 90 degrees (approx) from the sun. Shooting low meant I could get low and close to the rocks as well as being able to see the light shining on the rocks.
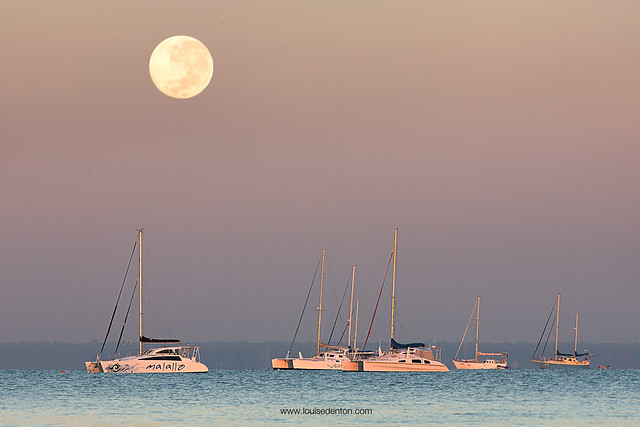
Most people photographing the 2013 "Supermoon" chose to shoot the moonrise. I went for the moonset instead, shooting the setting moon on the rise of the sun:
This can be easier said than done, which is why a lot of photographers (myself included) will spend much longer at a location than your average-Joe sight-seer. It's why photographers revisit a location time and time again to try different lighting, seasons and angles.

The three below photos show the same location, taken around 2 years apart:

If you only have one day, and one chance to be at the location and can't revisit, that's fine too. Allow a few hours - explore the location, take photos from a multitude of angles. Explore the paths and trails around your subject. You will soon work out from looking at the shots on your LCD, the angles that work and those that don't. Once you have found the angle you like best, then experiment with long exposures, foreground interest and light.
One of the most common techniques for composing a landscape photo is:
The Rule of Thirds
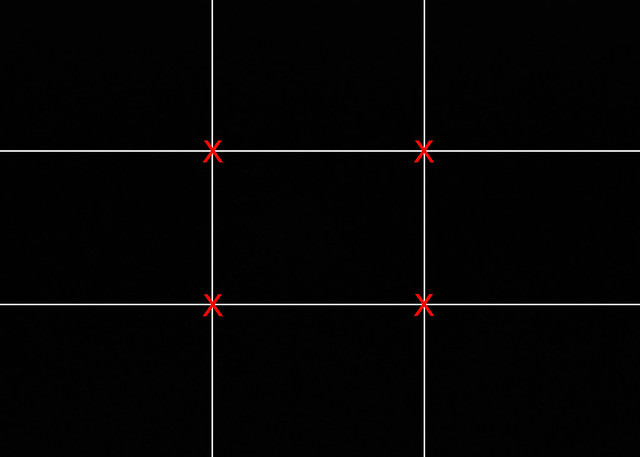
Imagine the viewfinder is split in to three equal sections - vertically and horizontally. Or, even better if you are using a digital camera - use the LCD display, which usually has these grid-lines on the screen. These are a perfect guide for how to position elements in the photo.
Typically, the horizon will sit on the top "third line". Typically, a focal point will sit on where two "third lines" intersect (indicated by the red crosses below).
What is a focal point?
All photographs should have one. It can be anything in your scene.
A person, a tree, a waterfall, a rock....
But there needs to be a point in your vast sweeping landscape to anchor the scene, and give a sense of perspective.

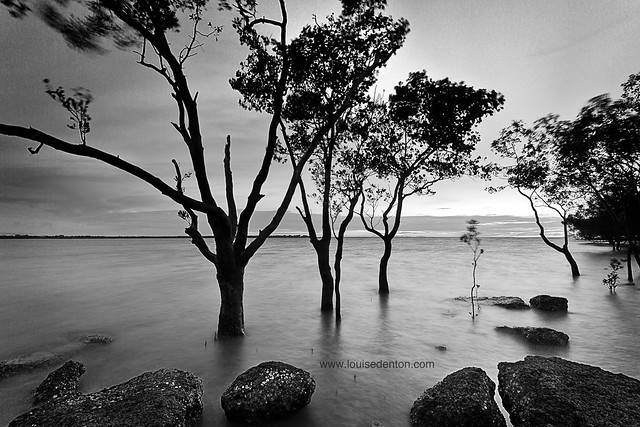
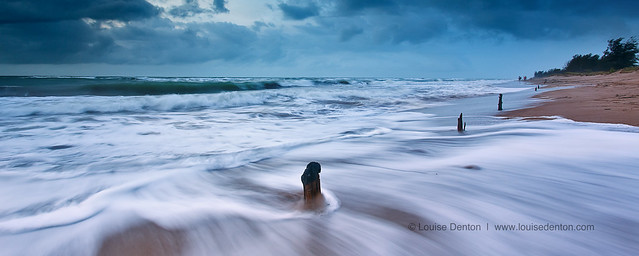
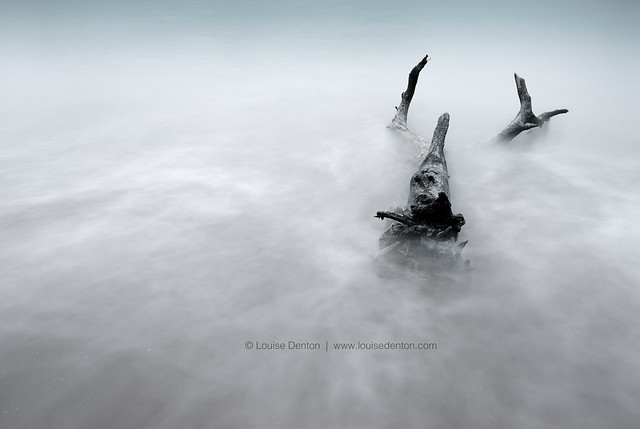
Here - the tree stump is a clear focal point in the open beach and ocean:
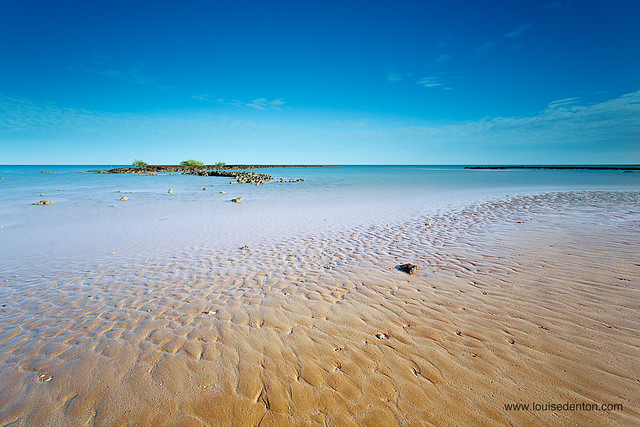
Here, my foreground interest is the texture and lines in the sand leading toward a mini "island" in the middle of the beautiful blue water:

Here, the person helps give a sense of scale:
There is an "unwritten" rule that the horizon should never cut through the centre of your photo (although, see the above example, rules can be broken!)
Horizons should sit on one of the horizontal "third lines". Typically, the top third. This emphasises the scene and feels more balanced.
If you have a particularly awesome sky, using the bottom "third line" to place your horizon can help to emphasise the sky.
Reflections and symmetry can allow for a centred horizon to work better:

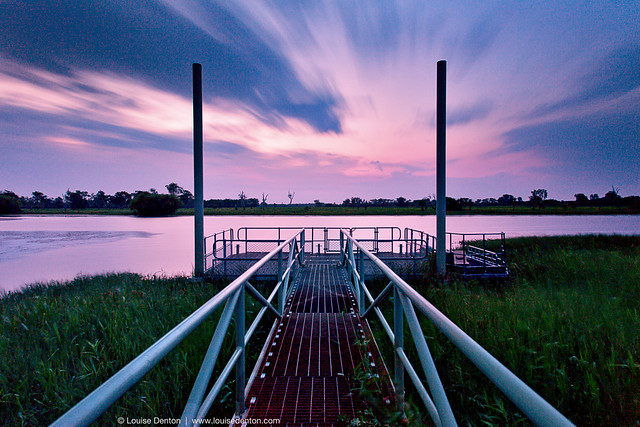
Aside from the Rule of Thirds, you can also use "Leading Lines" to position elements of the scene.
This could literally be lines in the scene, leading in to the middle of the scene:
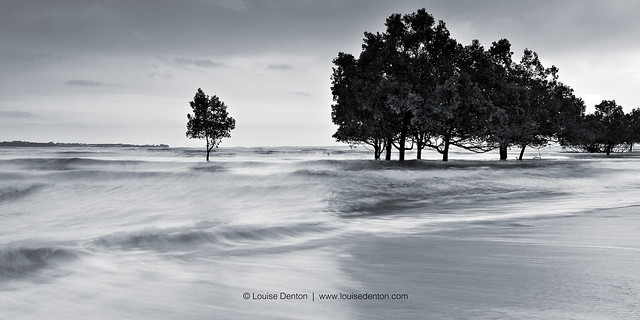
But they can also be more discreet - the lines could be curves, or the "lines" could be "stepping stones" leading in to the scene:
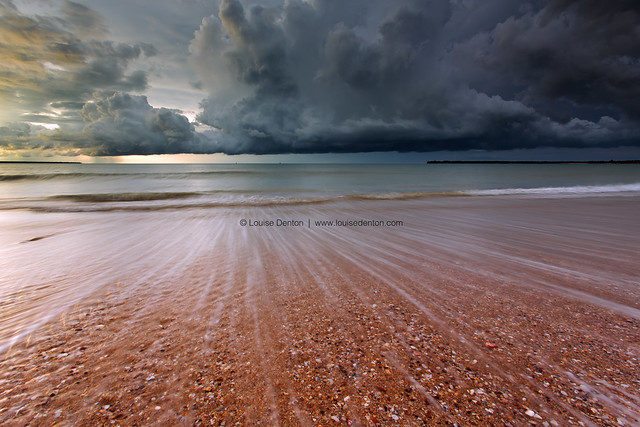
Or lines in the sand, lines in the water..... look for lines and patterns to suck the viewer in to the scene.
It's not just lines to look for - look for texture, patterns and layers in the scene.
Those are my key points for composing landscapes.
To summarise:
- Explore all angles - and take time, if you have it
- Use the Rule of Thirds
- Have a focus point
- Use/look for leading lines in the landscape
- Look for patterns, textures and layers
Another couple of points to add:
- Research! If you do only have limited time - check sunrise/sunset times, check tides, check orientation for what time will be best....
- Experiment with other lenses. Not all landscapes need to be wide angle. Sometimes there are some great landscape/nature style shots to be had by zooming in a little.

If anyone has anything further to add - please do! Leave a comment below :-)