Tips for using a wide angle lens in landscape photography
I use wide angle lenses for most of my landscape images. One of my favourite lenses is the Canon 11-24mm - one of the widest you can get!
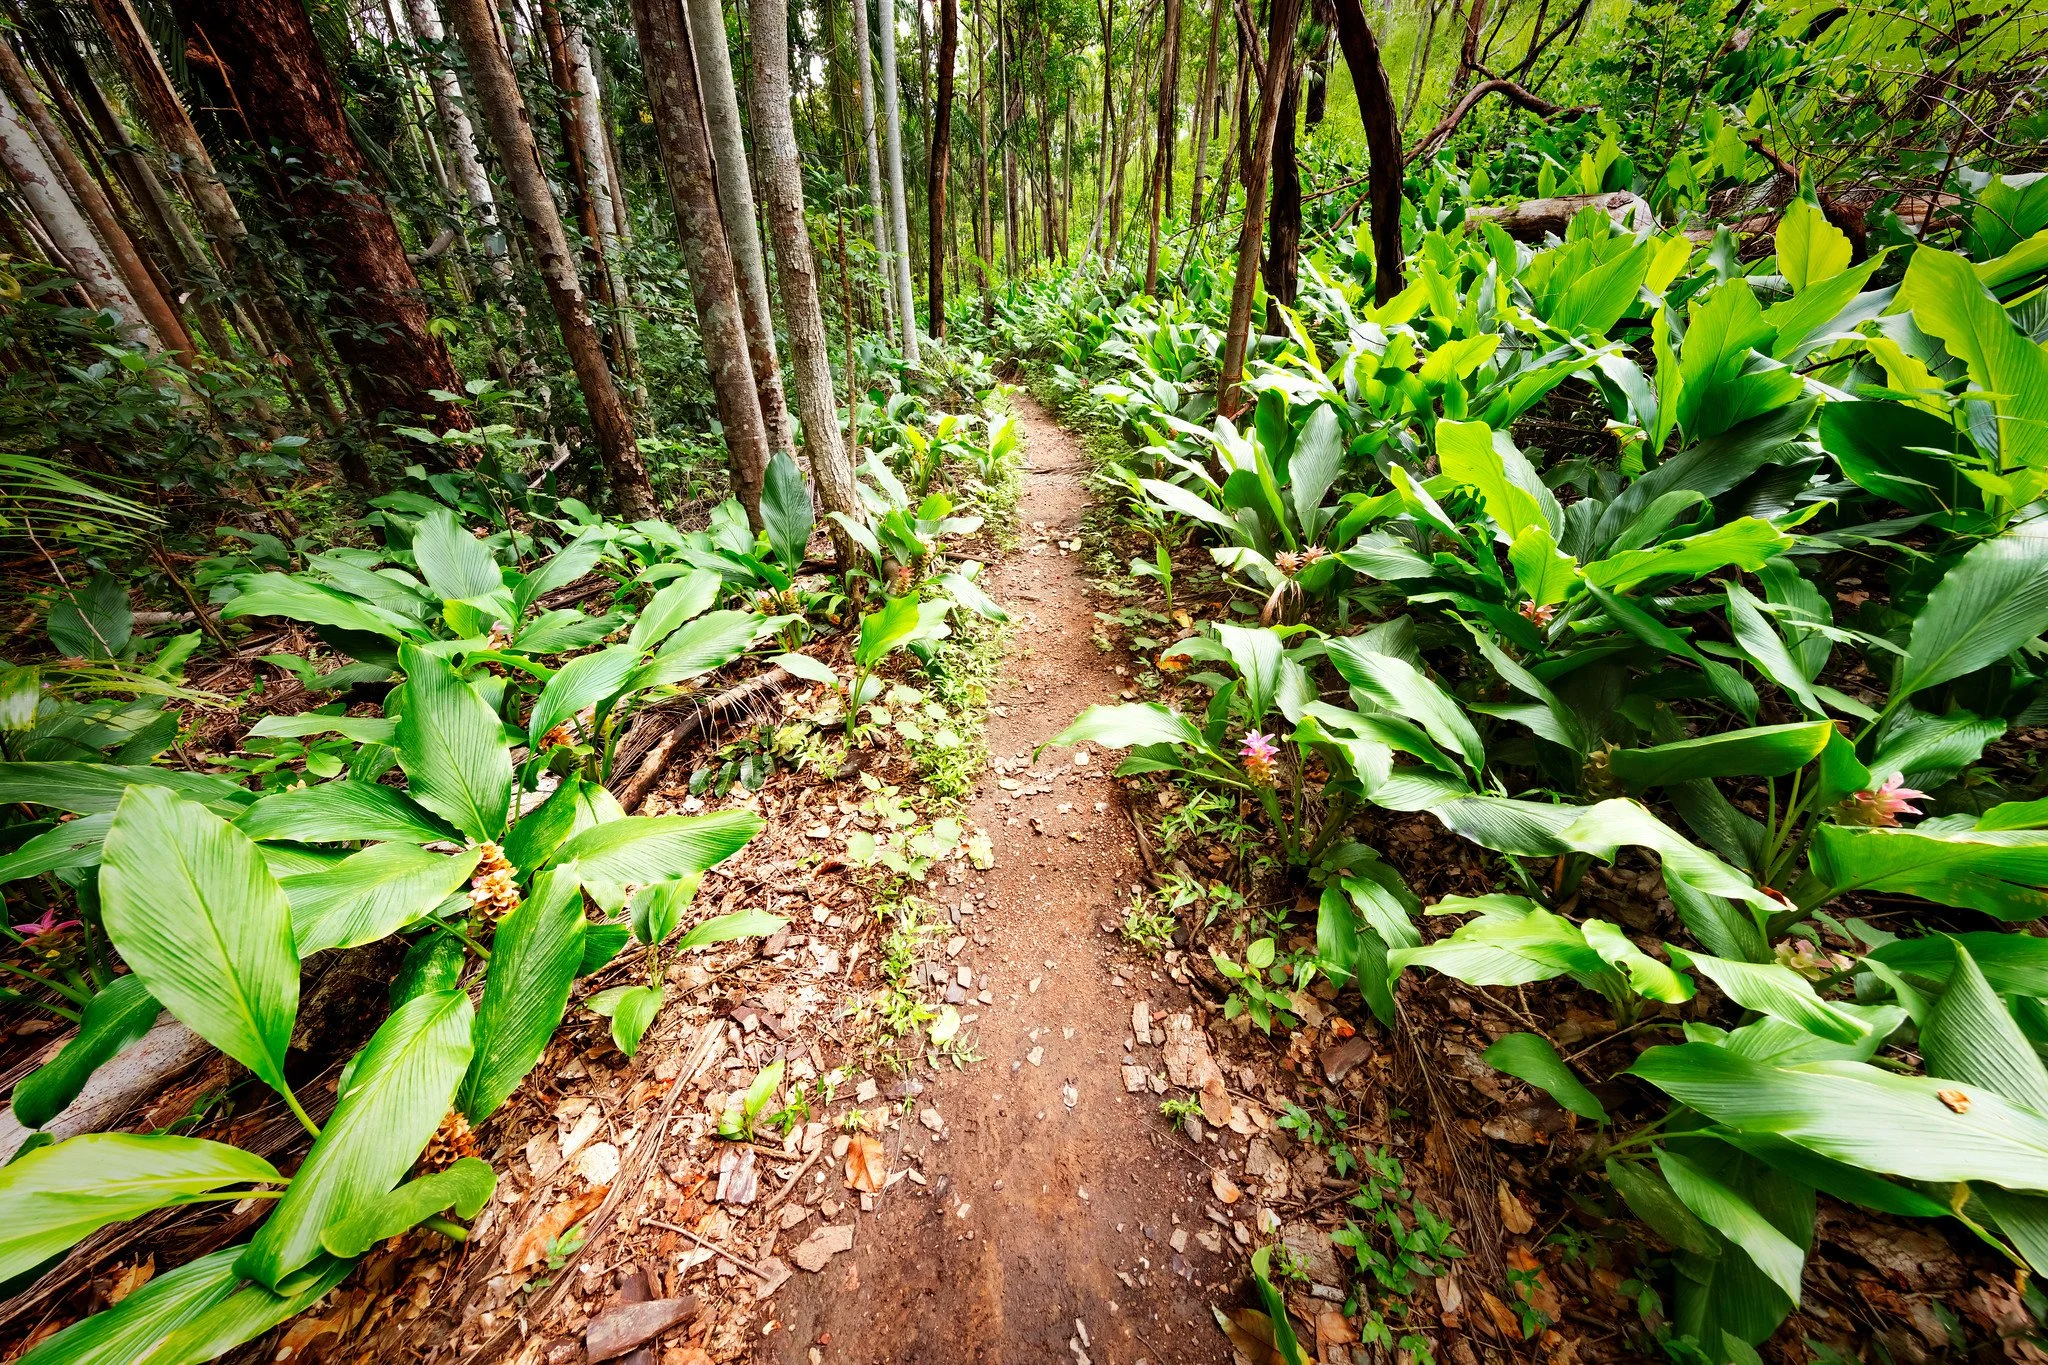
Check out the shots in this blog, all taken with wide angle lenses.
Wide angle lenses can take a bit of getting used to, but here's a few tips on using them to their best...
1. Get close to your foreground
Wide angle lenses typically have quite a short minimum focal distance, meaning you can get very close to your subject and still be able to focus. I'm talking like 30cm from your foreground. Wide angle lenses are great for creating depth in landscape scenes using this capability - I love using "big" foregrounds to create interest and layers in a landscape image.

2. Take care with your composition
The composition of a wide angle photo can change dramatically with a very small change in camera position. It's hard to get a precise photo without a tripod, and small movements with a wide angle lens, make a big difference. A few cm higher or lower, left or right can make or break a shot. I regularly mess around with my tripod for many minutes before I take a shot, making sure every element is exactly where I want it. That might mean things like changing height slightly to ensure important elements aren’t overlapping or obstructed, or moving slightly left or right to ensure a scene is framed correctly.


3. Watch out for the edges!
When you're first starting with a wide angle lens, it's easy to not realise just how much is in the frame. Watch out for unwanted elements - live view is great for checking this. If there’s people around you when you’re shooting with a wide angle lens, most people tend to be considerate as to not move in to a shot… however, most people don’t realise how wide these lenses are!

4. Watch out for distortion
Distortion can be your friend when shooting landscapes with these lenses - the wide angle perspective makes things that are close to the lens seem bigger than they are, whilst shrinking the backdrop. Again, this helps with creating depth in your image. However, watch for the negative effects of this distortion when you're shooting things that are meant to be straight. The obvious one to watch out for is a curve in the horizon, which may need to be corrected in post processing. The other to watch for is for vertical edges to actually be vertical, and not leaning in or out. This can, to a point, be corrected in post processing, but it can be easier to ensure your camera is dead level (central) to eliminate distortion with things like buildings, bridges or jetties, for example.

5. Leading Lines
One of the basic composition “rules” of photography, wide angle lenses are the perfect tool for executing these images with leading lines. This is another benefit of the wide angle distortion - bringing things close to the lens closer, and shrinking the distance.

What do you think? Have anything to add? Leave a comment below!